In ceramics my tutor said that we could make whatever we wanted, so I made a series on items. The first is one of my objects created out of white clay and the object is an energy drink can. I started by moulding the general shape of the can like the cylinder and the lip at the top. I also did the pull tab at the top. After this I cut through the bottom of the shape with a wire and hollowed out the whole thing then scoured and slipped it back together while trying to make the seam unnoticeable which I find I succeeded. After I hollowed and sealed the piece I find that this has warped the shape of the can but this also makes the can look like it has been slightly crushed which I find works however I would prefer if it was more straight. Later I used paper guides to get crisp lines of green decorating slip on the front. Then I left the piece to the side to dry to about leather hard then I carved away the design of the can into the slip, this technique is called Scraffito. Then I punched the top of the can and used soft tools to make the opening of the can neat and clean.


This is the piece after being fired.

This is the piece after I added clear glaze.


Then I started connecting the slabs by scouring and slipping them together. I used a wooden tool to smooth off the seams. This is the hardest part I find of the development, you can see on the final product that my seams aren't the best but I think they are acceptable.


I later made a draw to fit inside the matchbox with three little matches inside with the same green decorating slip I used for my can.

Later I used paper guides again to place the matt white glaze and green decorating slip onto the box. After it had dried for a while I used scraffito to carve "Safety Matches" into the surface. Then I displayed them altogether and photographed.

After creating the first matchbox I created another one half it's size. However because it was so small I couldn't make a small enough draw to fit inside so I just slide two more clay matches into the box. I decorated it the same way as the first box.


This is what they looked like after being fired. The white part is glaze so that has come out shiny and smooth however the green slip is still quite rough but I don't think it looks to bad. The white has also come out an orangey tint which i am not sure why this has happened but I like the way it makes them look a bit worn and aged.

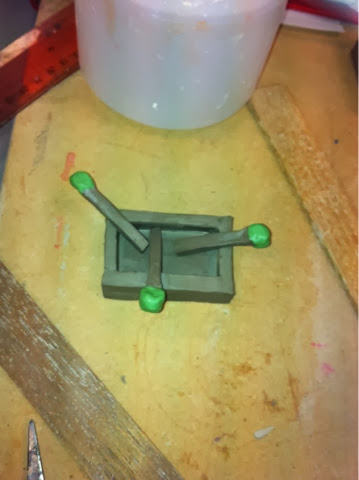
My final object I created is made up of several parts. First I had to make the clay mold of a few of my objects. I chose a drawing pin, a peg, a headphone aux cable and a part of my watch.

I rolled out the clay using guides to get it absolutely flat and then I covered my objects in oil and proceeded to make prints of them. For the smaller objects I had to use a soft tool to get it back out of the clay therefore not damaging the surrounding clay.

Once the mold had been fired I made multiples of the moulds but in negatives. instead of them being in the clay they are raised out of the clay. To make these multiples I got small pieces of clay, used a rolling pin to make them flatter them simply pressed them on top of the mould to get the negatives. I weighed them down with guides so they wouldn't curl and then left them to dry.
Later I added semi transparent 'Apple Green' glaze to my clay peg pieces. This is how they came out.
I like the way they have come out because you can still see the colour of the clay underneath which I find looks nice with these mini pieces.

These are my clay drawing pins and headphone AUX cables. This is when green stain was added to the headphones and green decorating slip plus clear glaze was added to the drawing pins. However this is before they went into the kiln.

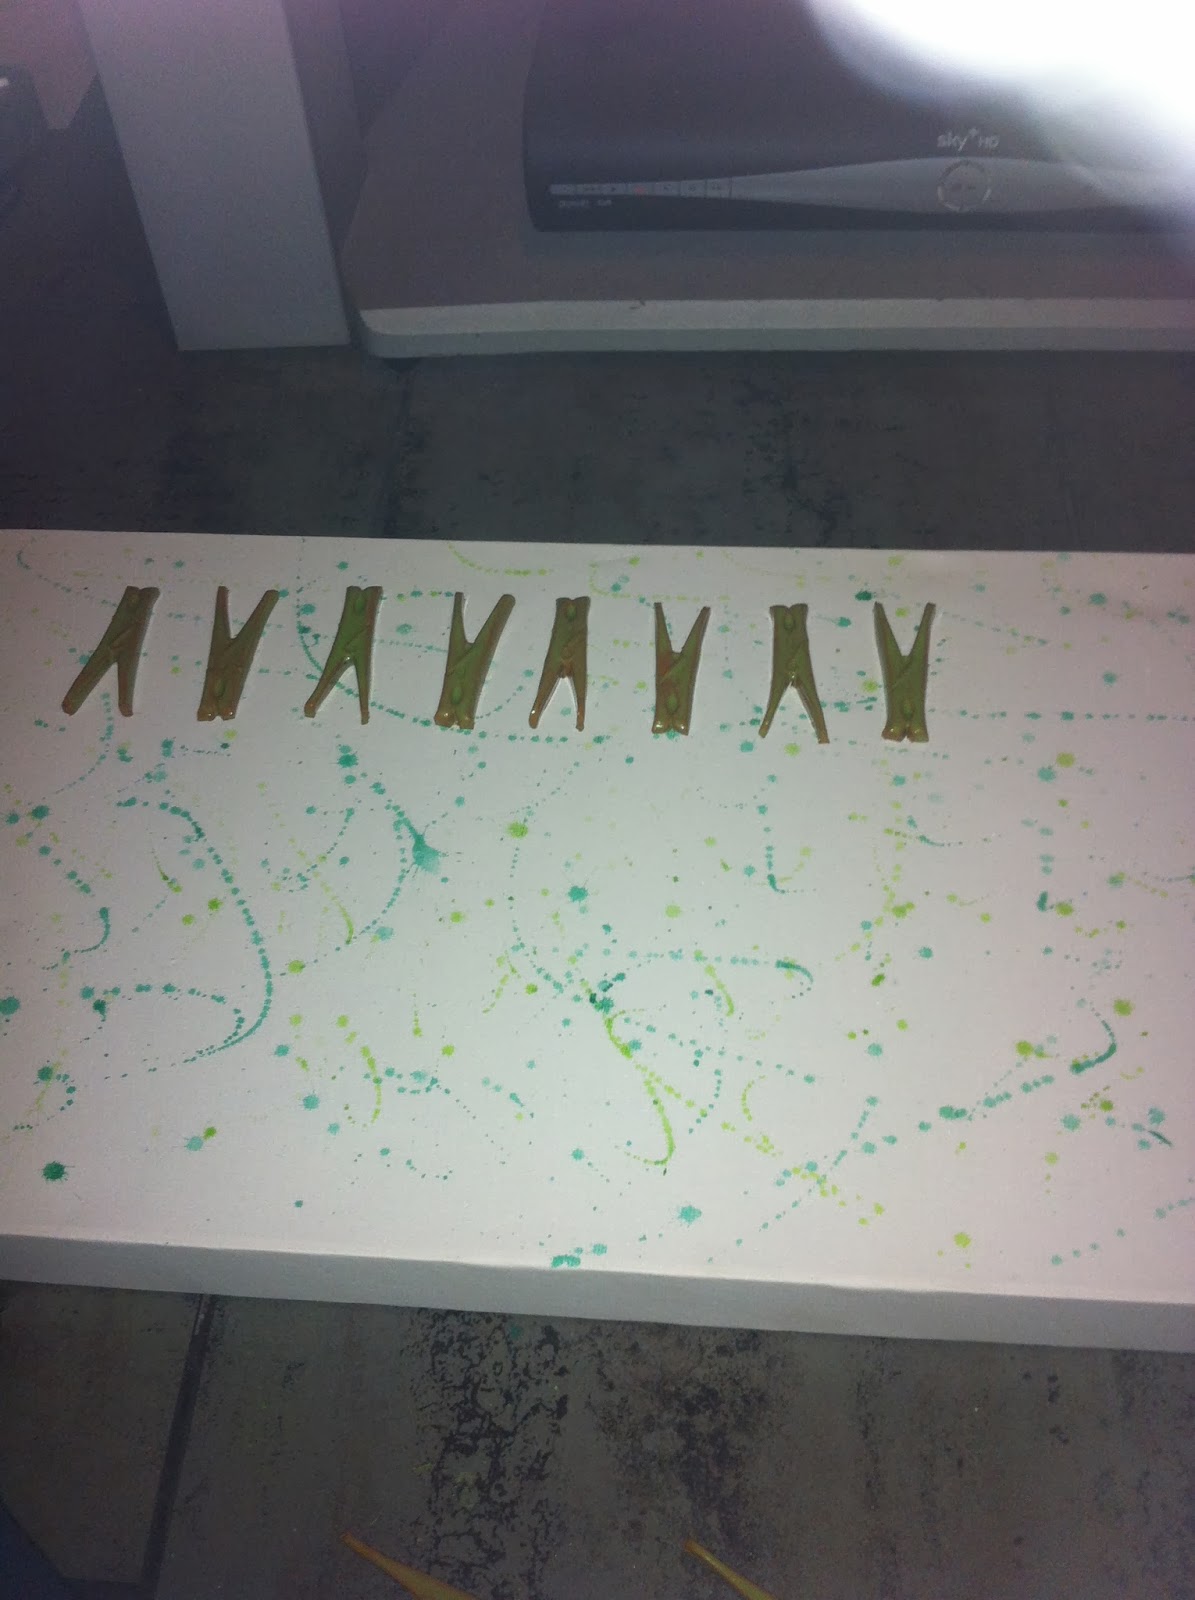

Later I bought a landscape canvas and splattered paint onto it using watercolours and various different greens. Then I used super glue to join the ceramic to the canvas. After re glazing my pieces I find they look much better and I am very happy with my final outcome. I like how they are all arranged neatly and evenly and i find the glaze makes them look a lot more professional. I also love the rough edges around the drawing pins and AUX cables because they also make the smooth edge pegs pop out more.
No comments:
Post a Comment